Start with snug shoes and flat laces, standing with feet hip-width apart. Tie using either the Bunny Ears or Loop, Swoop, and Pull method—keep tension steady and laces flat to avoid twists. For extra security, add a Double Knot and test by light tugging. If a lace slips or tangles, re-thread and re-tie with even pulls. With practice, you’ll get faster and more confident, and there’s more to discover if you keep going.
Getting Ready: Shoes, Laces, and Posture
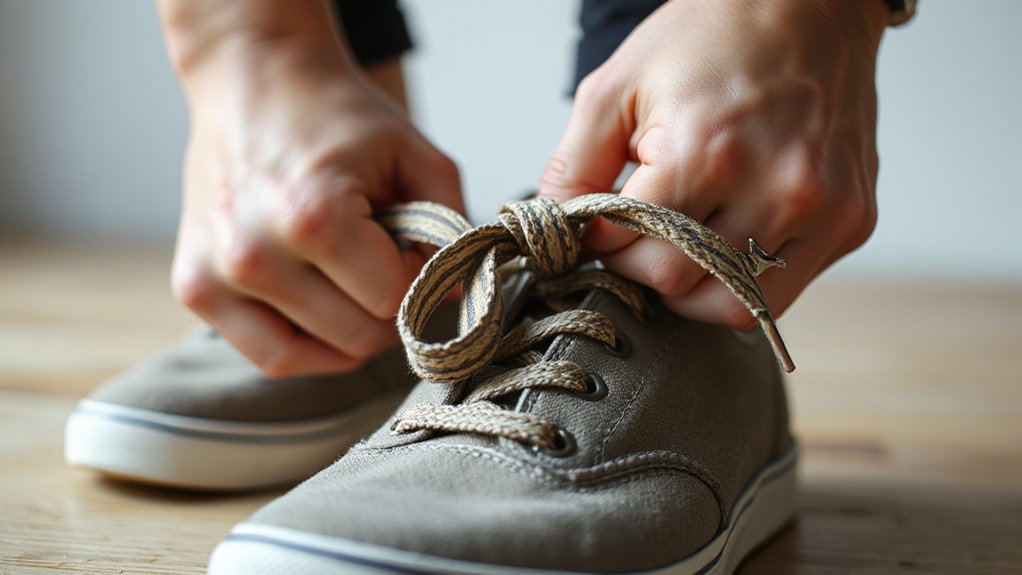
Getting ready starts with the basics: choose shoes that fit well, gather the right laces, and stand with a comfortable, balanced posture. You’ll want snug shoes that aren’t tight, so circulation stays smooth as you work.
Inspect laces for wear and replace frayed parts before you begin. If the shoes have multiple eyelets, thread laces evenly and avoid twists that create pressure points.
Stand tall, shoulders relaxed, feet flat and hip-width apart. Align your knees with your toes to prevent strain. Slip your feet in, adjust heel counter, and secure laces loosely at first.
Tighten gradually, testing comfort with light steps. Keep hands steady, and breathe evenly. Clear space around you to avoid distractions, and prepare to practice the next steps with focus.
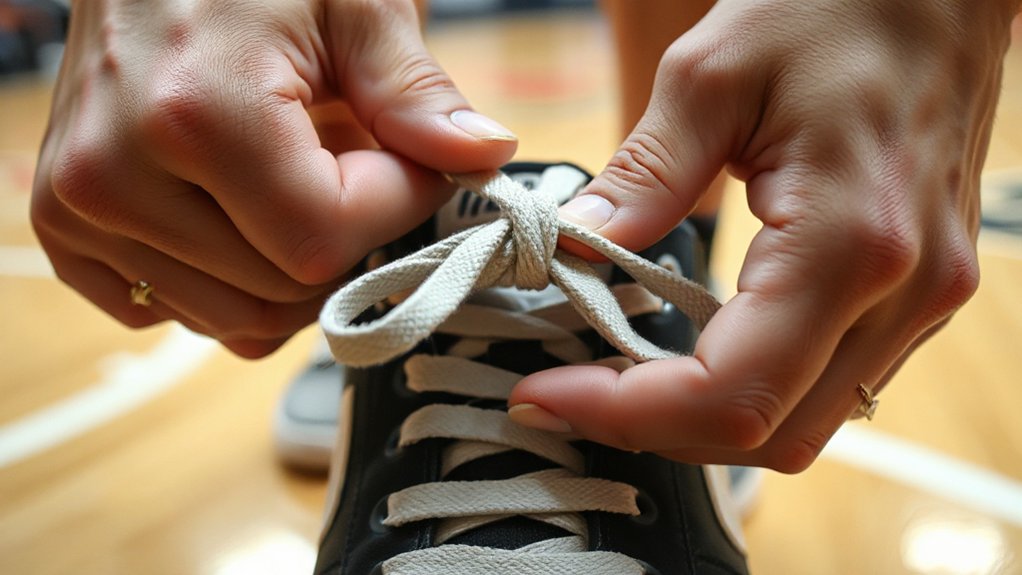
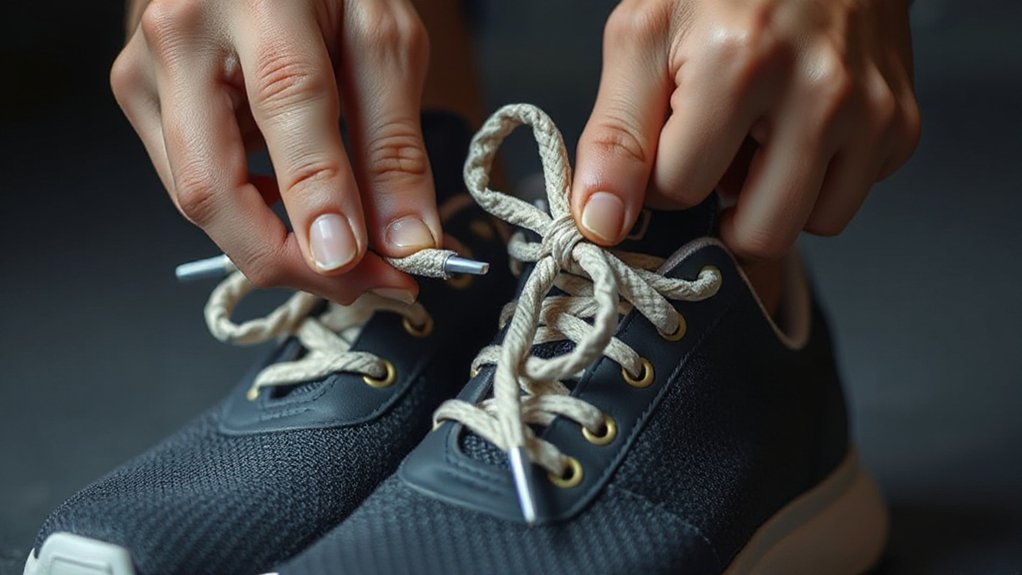
The Bunny Ears Method: Step-by-Step
The Bunny Ears Method is a straightforward way to tie shoes quickly and securely.
You start with laces flat, one in each hand. Create two large loops, or “ears,” by folding the laces toward the center. Keep your thumbs at the base to hold them steady.
Cross the ears over each other, then tuck one under the other to form a simple knot. Pull both loops outward to tighten evenly. If you prefer a snugger fit, pull the ears toward you while guiding the knot against the shoe.
Check that the bow sits centered and the tongue remains flat. Practice makes the motion smooth; with a quick tug, your shoes stay tied through daily activities.

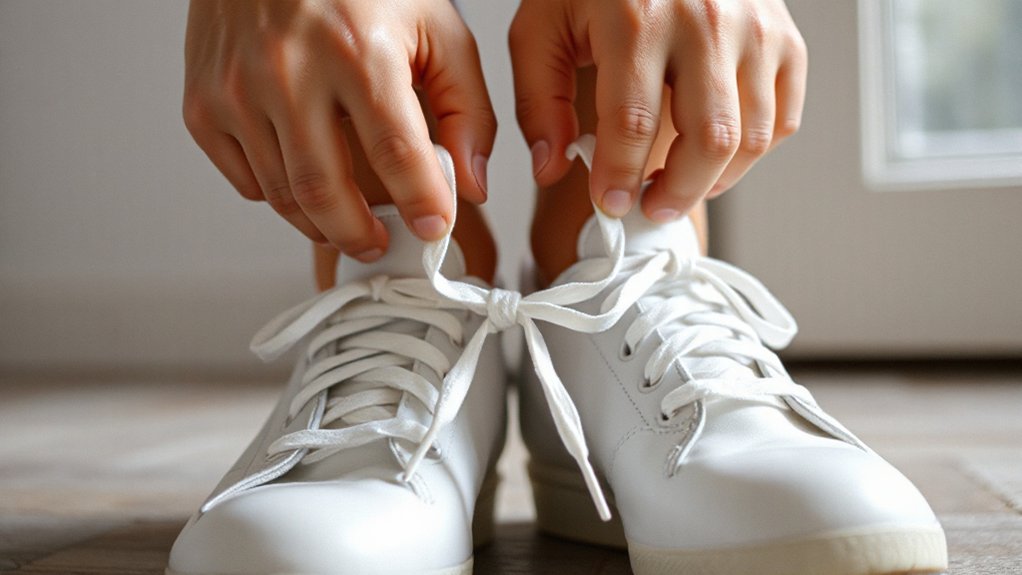
The Loop, Swoop, and Pull: A Classic Knot
The Loop, Swoop, and Pull: A Classic Knot teaches a reliable, hands-on method to secure laces with a smooth, uninterrupted motion.
You begin by forming a small loop with one lace end, holding it between thumb and forefinger. The other lace wraps around the loop, then you pull it through the created gap, producing a neat, secure knot.
Keep tension steady as you tighten, ensuring the loop sits evenly and the knot rests flat against the shoe tongue. This technique offers quick repetition and consistent results, making it ideal for beginners and seasoned tied runners alike.
Practice with both laces, maintaining a relaxed grip to avoid twisting. With repetition, the knot becomes a confident, automatic habit.
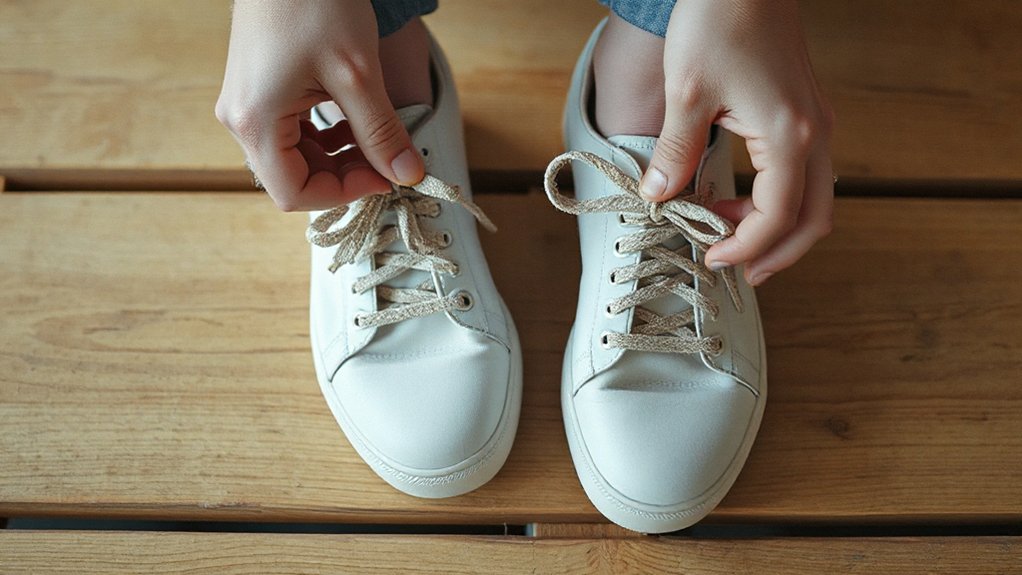
Double Knot for Extra Security

Double knots add a layer of security that keeps laces from coming undone during activity. Start with a basic knot, then wrap the lace around once more before pulling tight. This second wrap creates a doubled grip that resists loosening when you move, jump, or bend.
Keep your laces snug but not painful, so the knot sits flat against the shoe. If you feel movement, tug both ends evenly to reseat the loop. Check that the loops are even and the tails aren’t snagging on eyelets.
Practice at a slow pace, focusing on a clean two-loop structure rather than excess tightness. When you finish, test by light tugging and walking a few steps. You’ll notice extra security without added complexity.
Troubleshooting Common Slips and Tangles
When slips and tangles start, you don’t have to panic—you can fix them on the fly. First, stop and assess: is a lace loop catching, or did the laces loosen?
If a knot loosens, pull the lace ends gently to reestablish tension, then re-tie with a clean pattern. For a snagged aglet, loosen nearby loops, slide the fabric free, and tighten again.
If one lace twists, loosen the entire knot and rethread both ends straight through the eyelets. For a loose tie, resecure with a quick double knot and check symmetry across both sides.
Verify the laces lie flat to prevent rubbing. Practice deliberate, small adjustments rather than forceful tweaks. With calm steps, most tangles resolve without retying from scratch.
Tips for Speed and Accuracy
Aim for speed without sacrificing accuracy by locking in a quick, repeatable pattern and keeping your hands centered near the shoe. You’ll gain tempo by practicing a steady rhythm, not rushing through steps. Focus on fingertip precision, not strength, and maintain tension only until the loop forms. Consistency beats bravado, so repeat the same sequence until muscle memory clicks.
- Establish a reliable starting grip and rehearse the motion in small, deliberate segments.
- Keep movements minimal—short, controlled pulls prevent tangles and mislaces.
- Time each step to a beat, then speed up once you’re stable, not first.
- Verify snugness by a single, firm pull on both laces, avoiding over-tightening.
Kid-Friendly Practice and Confidence Boosters
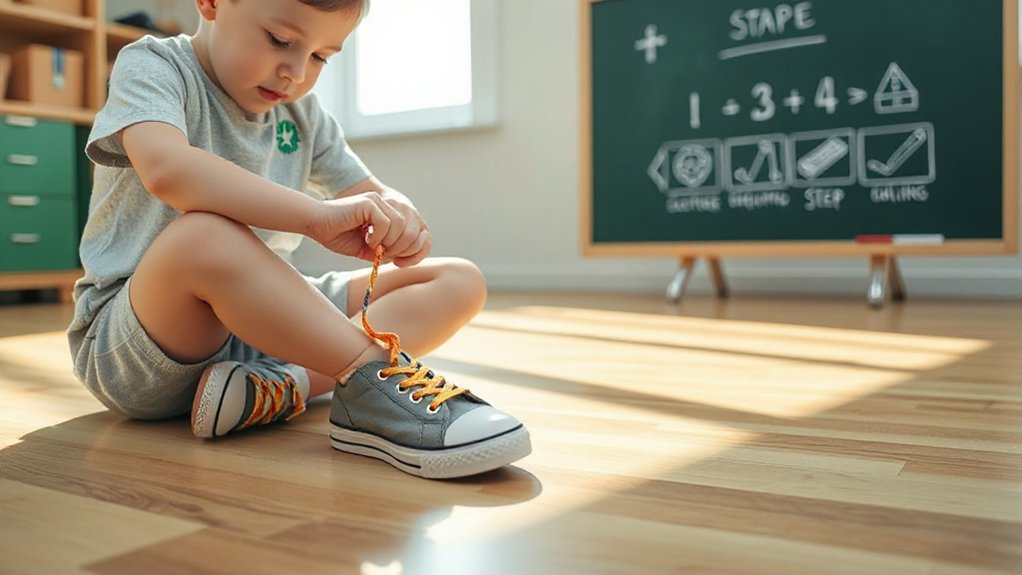
Kids learn best when practice feels like play and progress comes with small wins. You can turn tiny steps into big gains by pairing a simple routine with fun cues. Use colorful shoelaces, a timer, or sticker rewards to mark milestones you’re aiming for, like one knot or a complete bow.
Break the process into stages: loop, pull, and tie. Demonstrate each step slowly, then let them imitate at a comfortable pace. Celebrate effort, not perfection, with specific praise: “Nice tightening,” “That loop looks steady.”
Practice is stronger when it’s short and frequent, so 5 minutes daily beats long sessions. Offer gentle suggestions, not corrections, and offer choices—right or left-handed grips—to boost confidence and ownership.
End on a positive note to encourage repetition tomorrow.
Frequently Asked Questions
Can Shoelaces Be Tied Without Using Hands?
The Current Question spots a curious moment, as if fate nudges you toward a not-quite-hidden trick. You ask if shoelaces can be tied without using hands, and you’re not imagining signs around you.
You might notice a towel snag, a chair leg, or a sleeve brushing by—the coincidence nudges you to improvise. You can, with a clever pull, bend the tongue, loop and tension, then secure with a simple twist.
Try it and see.
What if My Shoes Don’T Have Eyelets?
If your shoes don’t have eyelets, you still can secure them with alternative methods.
You might use elastic laces, a toggle, or a slip-on design and a snug, hidden knot. Some shoes have a heel loop that you can anchor and tension through the tongue.
For non-eyelet styles, try adhesive straps or a zipper system if present. You’ll want a reliable grip so your feet stay comfortable and secure all day.
How Do I Fix a Knot Undone by a Knot?
You ask how to fix a knot undone by a knot.
You’ll approach it calmly, and you’ll untie the loose loop first, then rethread the lace. You tighten gradually, keeping even pressure on both sides.
You pause to check the loops—make sure they form a clean bunny ear on each side. You pull through gently, avoiding pulls that snap or twist.
You test the shoe for security, adjusting as needed until it stays tied.
Are There Laces That Never Come Untied?
Sure. You wonder if laces exist that never come untied. Spoilers aside, no knot is foolproof, but some options work beautifully.
You could switch to double knots, lock laces, or braided self-tying designs that resist looseness. You feel confident as you cinch and revise loose ends.
You’ll notice texture and friction doing the heavy lifting, giving you steadier holds. You test, adjust, and keep moving, knowing your shoes stay secure.
How Long Should I Practice Before It Sticks?
Your question about how long you should practice before it sticks is really about consistency.
You’ll see progress when you practice daily, even for short sessions. Start with clear, deliberate steps and a slow pace, then speed up as you feel natural.
Keep your focus on form, not force, and celebrate small wins. Repetition builds memory, so you’ll notice the method becomes automatic after a few weeks of steady effort.
Stay patient and keep practicing.
Conclusion
You laced up a small door to your day, and now you swing it open with confidence. Shoes, like seeds, hold the path you plant: steady knots guard growth, while loose ends scatter doubt. Each bunny ear becomes a compass, guiding you through chaos to calm. When slips appear, imagine a sturdy bridge being rebuilt—you tighten, you test, you trust. Soon, every stride is a rhythm, a symbol that you’re ready for the journey ahead.